PROFILE
The very first thing you can do on your Better Automate account is to set up your account settings. Go through each area inside Settings and fill out all the necessary fields.
Profile
Fill out your personal information. The “Profile” section has all the details about the User.
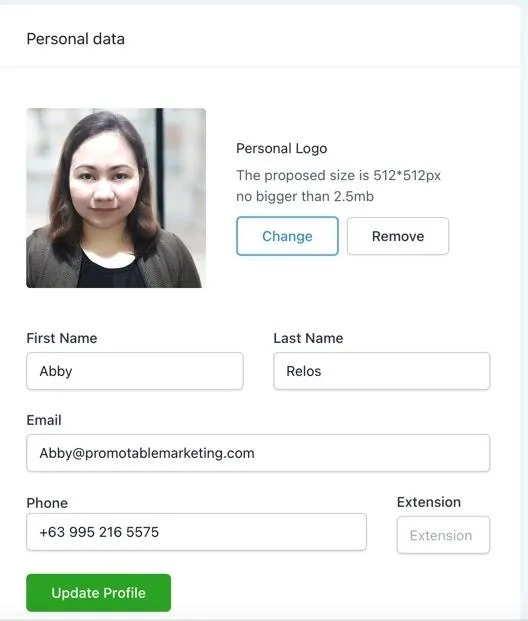
- Personal Data
Enter your personal details here like your first and last name, email address, and phone number, then click on “Update Profile”. You can also upload your photo as your “Personal Logo”.
- Email Signature
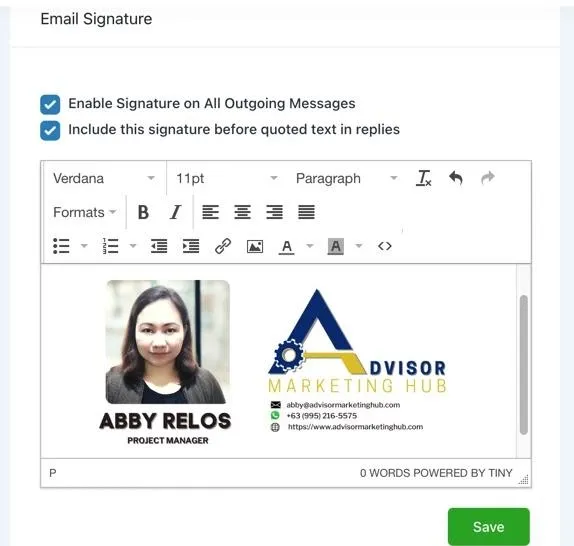
In this section, you can add the email signature you want to use. It can be in the form of texts, images, or a combination of both, then click “Save”.
- Integrations
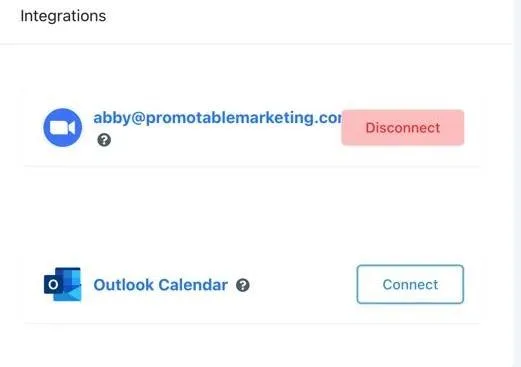
This is where you can link your Zoom and/or Outlook accounts. These will be necessary in setting up your calendar and appointments.
- Change Password
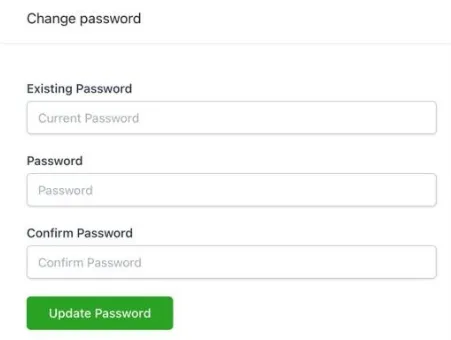
This is where you can change your password.
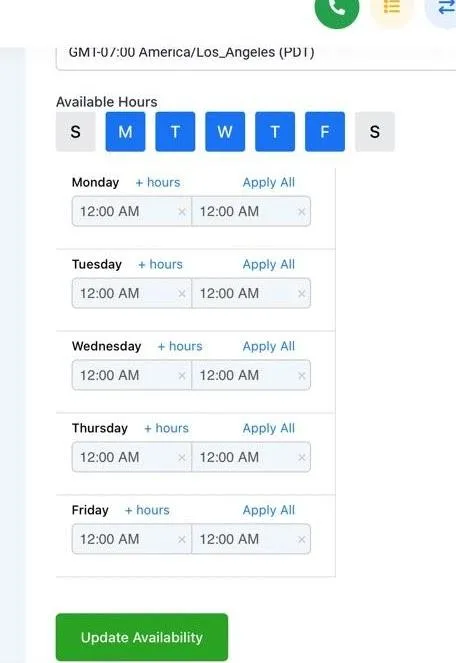
- User Availability
In this section, you may add your availability. This will be connected to your calendars. Update this section to the days and times you are available, then click on “Update Availability”.
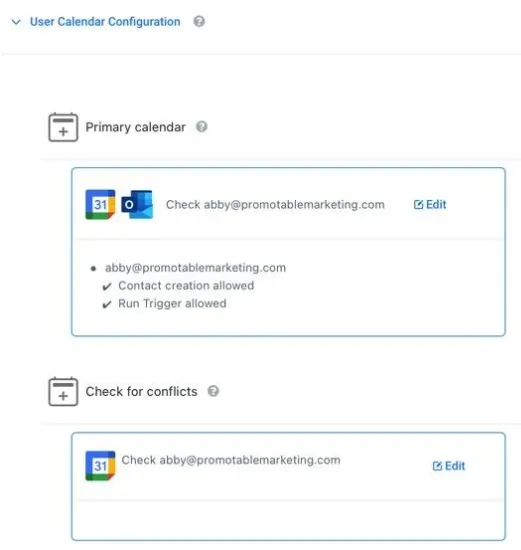
- Calendar Configuration
This is where you will integrate your calendars to your Better Automate account. View this page for step-by-step instructions on how to integrate your calendars.
Email us: [email protected]
Meet with Rob: www.schedulewithrob.com
Meet with the AMH Team: www.amhsupport.com


